Because I had the pleasure of hosting some extended family for dinner on Saturday and I had dinner plans with friends on Sunday, I decided I'd better make my Cookbook Adventure something quick and easy this week... which was a good reminder of how good quick and easy can be. I broke out a cookbook that I've had since it first came out 7 years ago, but haven't adequately experimented with (despite the presence of about 30 post-its stuck on the pages of recipes I want to try): Madhur Jaffrey's Curries to Kebabs.
 The dish I chose this time around was a Kerala Squid Curry. The curry starts by toasting some coriander seed, black peppercorns, and fenugreek seed in a skillet

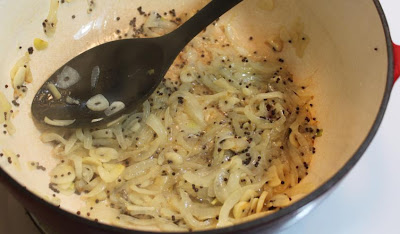
 The spices are ground then set aside while the next step begins. This involves popping some brown mustard seeds in oil, then adding sliced onion, sliced garlic, and (once those start to color) grated ginger.


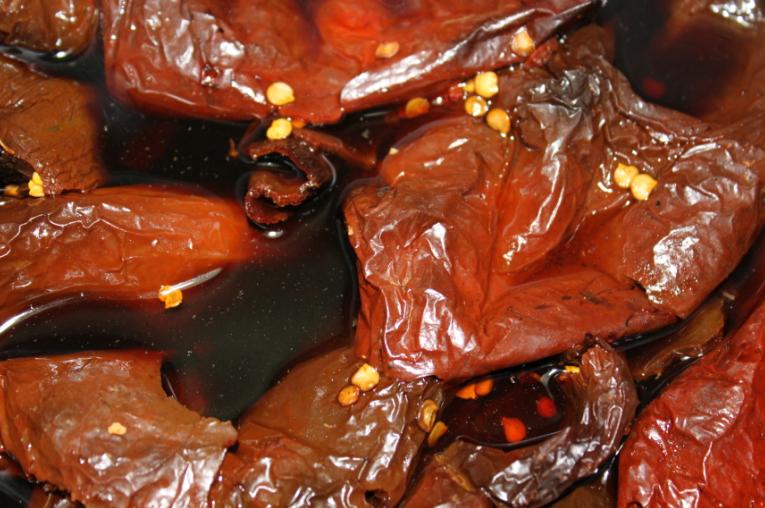
 The next batch of ingredients into the pot includes those ground toasted spices from above along with cayenne, paprika, sea salt, tamarind paste, and fresh curry leaves.

 All of the above goes into a pot with some water and is brought to a simmer. The dish can be made to this point in advance, then re-warmed just before serving to add the remaining ingredients, which would be nice if you wanted to prepare it for guests.
 I went off-recipe (for the first of two times) on the next step by using large calamari rather than small ones. H-Mart didn't have cleaned small calamari, and cleaning two pounds of squid would go against the "quick and easy" theme I was working with. I actually strongly prefer the larger calamari, since they're easier to cook perfectly tender, so I would probably have done this regardless of whether or not the smaller calamari was available.
 The calamari was supposed to be cut into 1/4-inch rings, so I halved the bodies lengthwise and cut into strips crosswise.
 The second place I was forced to go off-recipe was the chilies. H-Mart is actually fairly disappointing in the produce department, and they didn't have curry leaves or bird's-eye chilies. Russo's came through for me on the curry leaves, but I was left with these random spicy green chilies instead.
 The recipe made no mention of doing anything to the chilies other than adding them to the pot, but I made a long slit down each of the above chilies to let the spicy goodness ooze into the sauce more easily. These go into the pot with the coconut milk...
 ... and then the calamari is added.
 In just a couple minutes, the calamari is perfectly cooked and ready to serve.
 I plated this up with a big scoop of rice, and called it "lunch."
 This was absolutely fantastic. The complexity of flavor the spices brought was awesome. I would have liked things a little spicier, but finding somebody who carries a better selection of chilies (it's times like this that I miss So-Cal) should help with that. I used to occasionally make a version of Curried Calamari that I saw on an Ainsley Harriott cooking show (I know... don't laugh at me...) in college, but this really kicked that curry's ass, and didn't take much longer to make. This will definitely be my new go-to Curried Calamari. I'm going to have to crack this book open more often. A lot of the dishes that appeal to me are simple to make like this. As I alluded to before, when you're cooking Thomas Keller recipes, you sometimes forget that not all good food takes a full day of prep to make. Some of the best stuff comes together in under an hour, and the flavor doesn't suffer at all for that convenience...
 The dish I chose this time around was a Kerala Squid Curry. The curry starts by toasting some coriander seed, black peppercorns, and fenugreek seed in a skillet
 The spices are ground then set aside while the next step begins. This involves popping some brown mustard seeds in oil, then adding sliced onion, sliced garlic, and (once those start to color) grated ginger.

 The next batch of ingredients into the pot includes those ground toasted spices from above along with cayenne, paprika, sea salt, tamarind paste, and fresh curry leaves.
 All of the above goes into a pot with some water and is brought to a simmer. The dish can be made to this point in advance, then re-warmed just before serving to add the remaining ingredients, which would be nice if you wanted to prepare it for guests.
 I went off-recipe (for the first of two times) on the next step by using large calamari rather than small ones. H-Mart didn't have cleaned small calamari, and cleaning two pounds of squid would go against the "quick and easy" theme I was working with. I actually strongly prefer the larger calamari, since they're easier to cook perfectly tender, so I would probably have done this regardless of whether or not the smaller calamari was available.
 The calamari was supposed to be cut into 1/4-inch rings, so I halved the bodies lengthwise and cut into strips crosswise.
 The second place I was forced to go off-recipe was the chilies. H-Mart is actually fairly disappointing in the produce department, and they didn't have curry leaves or bird's-eye chilies. Russo's came through for me on the curry leaves, but I was left with these random spicy green chilies instead.
 The recipe made no mention of doing anything to the chilies other than adding them to the pot, but I made a long slit down each of the above chilies to let the spicy goodness ooze into the sauce more easily. These go into the pot with the coconut milk...
 ... and then the calamari is added.
 In just a couple minutes, the calamari is perfectly cooked and ready to serve.
 I plated this up with a big scoop of rice, and called it "lunch."
 This was absolutely fantastic. The complexity of flavor the spices brought was awesome. I would have liked things a little spicier, but finding somebody who carries a better selection of chilies (it's times like this that I miss So-Cal) should help with that. I used to occasionally make a version of Curried Calamari that I saw on an Ainsley Harriott cooking show (I know... don't laugh at me...) in college, but this really kicked that curry's ass, and didn't take much longer to make. This will definitely be my new go-to Curried Calamari. I'm going to have to crack this book open more often. A lot of the dishes that appeal to me are simple to make like this. As I alluded to before, when you're cooking Thomas Keller recipes, you sometimes forget that not all good food takes a full day of prep to make. Some of the best stuff comes together in under an hour, and the flavor doesn't suffer at all for that convenience...